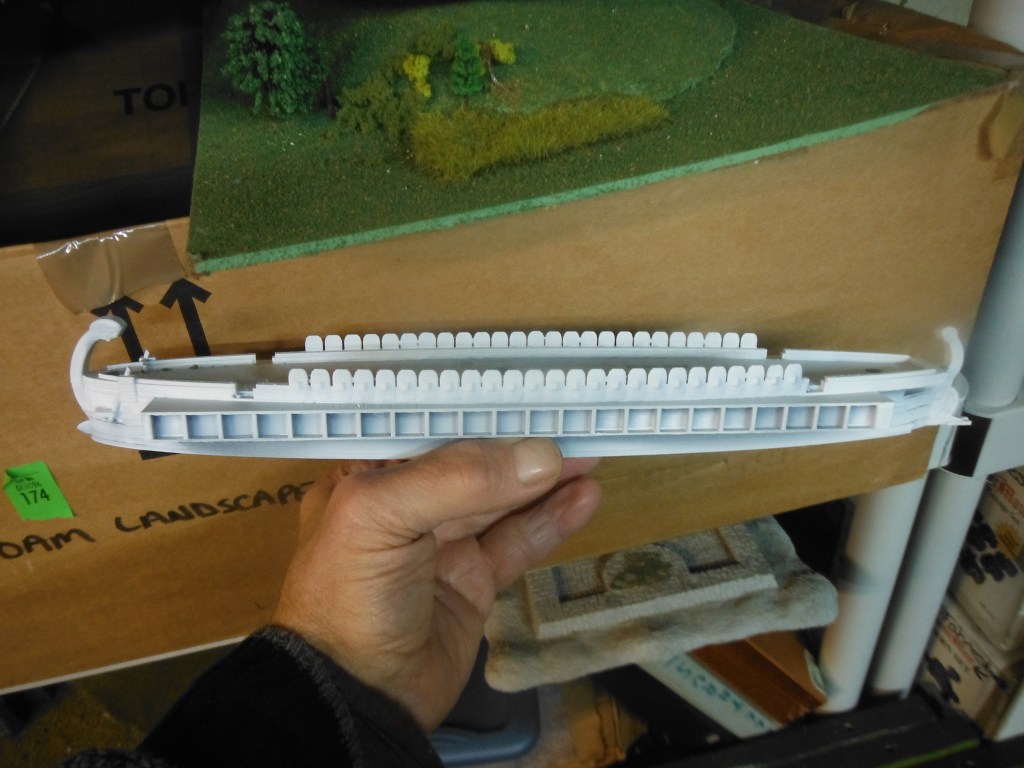
Yes, I manage to keep lots of projects on the table… I modeled 15mm Roman and Carthaginian galleys. I will paint these and get some games going once I complete the terrain boards, the “Nostalgia 25mm Scale”, the WWI 1/144 scale airplane game, and my 54mm Gladiator game.
A Roman Galley I modeled and 3d printed:
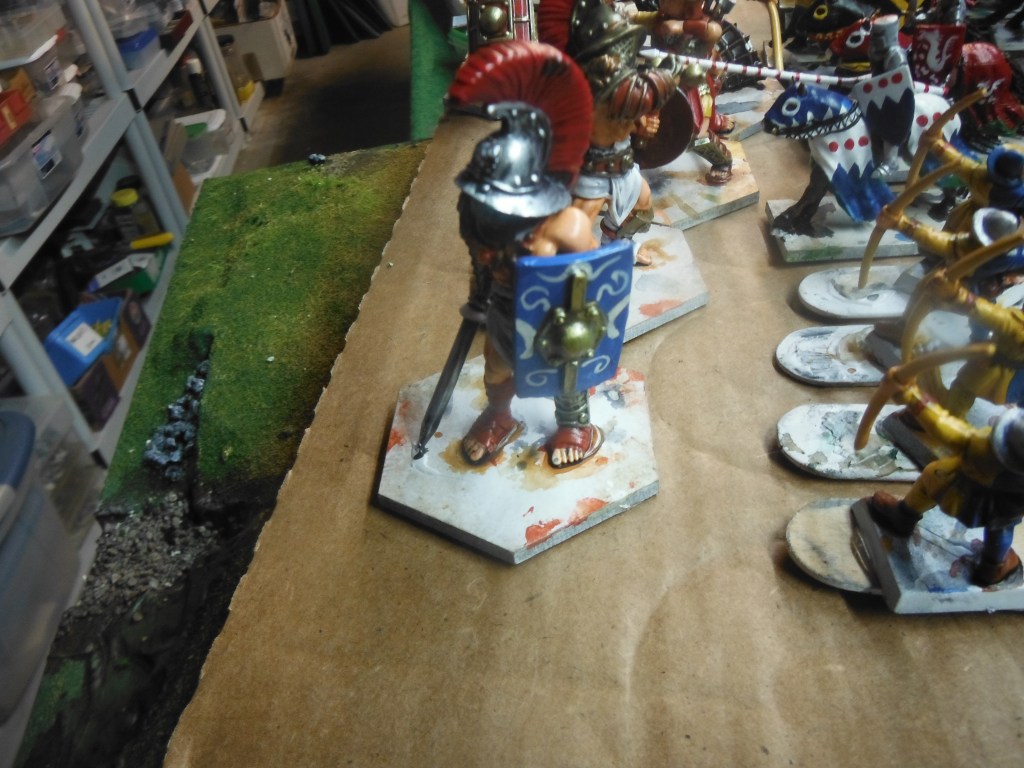
Some of the 54mm Gladiators…these I printed in Resin and just finished painting. They now, after the cover coating, need sand on the bases:
These printed ones should augment my own, pewter cast line of Gladiators nicely.
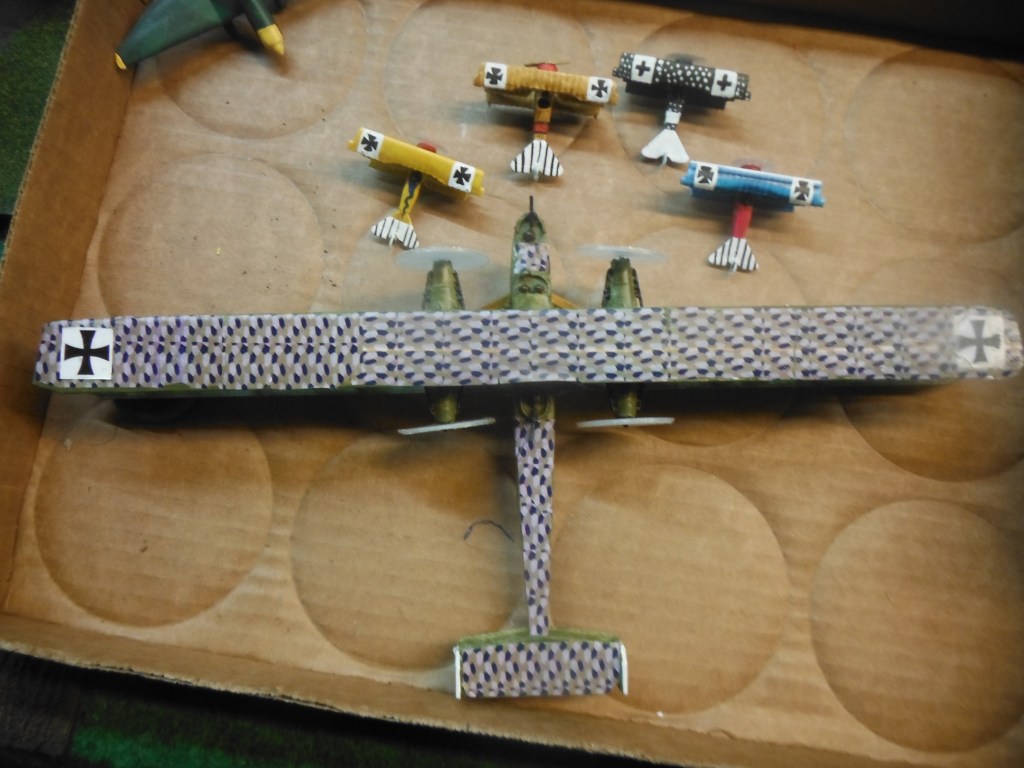
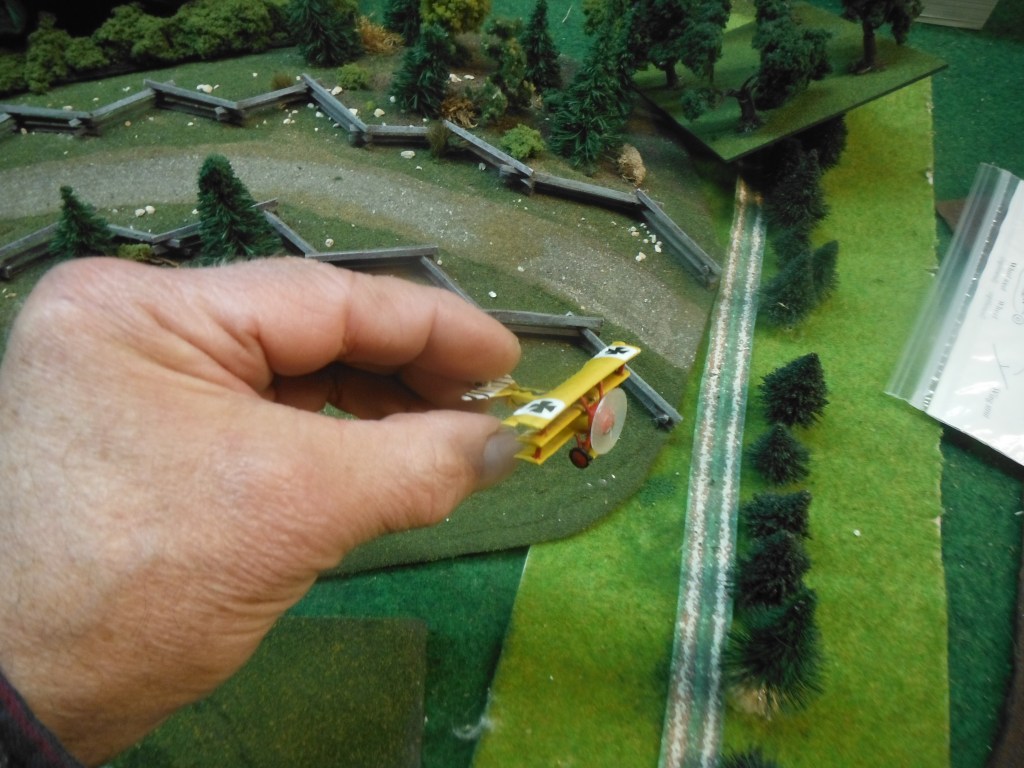
Some of the WWI 1/144 scale WWI airplanes, and yes, that is a Zeppelin bomber in scale….:
I think the clear 3d printed spinning props come out nicely..
Though I managed to lose the documentary videos and pics of how I made these boards from start to finish, I DO have one board about ready. I plan on making a video on how I finished the boards, but that will have to wait until warm weather, since I will be using clear resin for the river/water effects. Still, here are some ideas of what I have been doing for this…
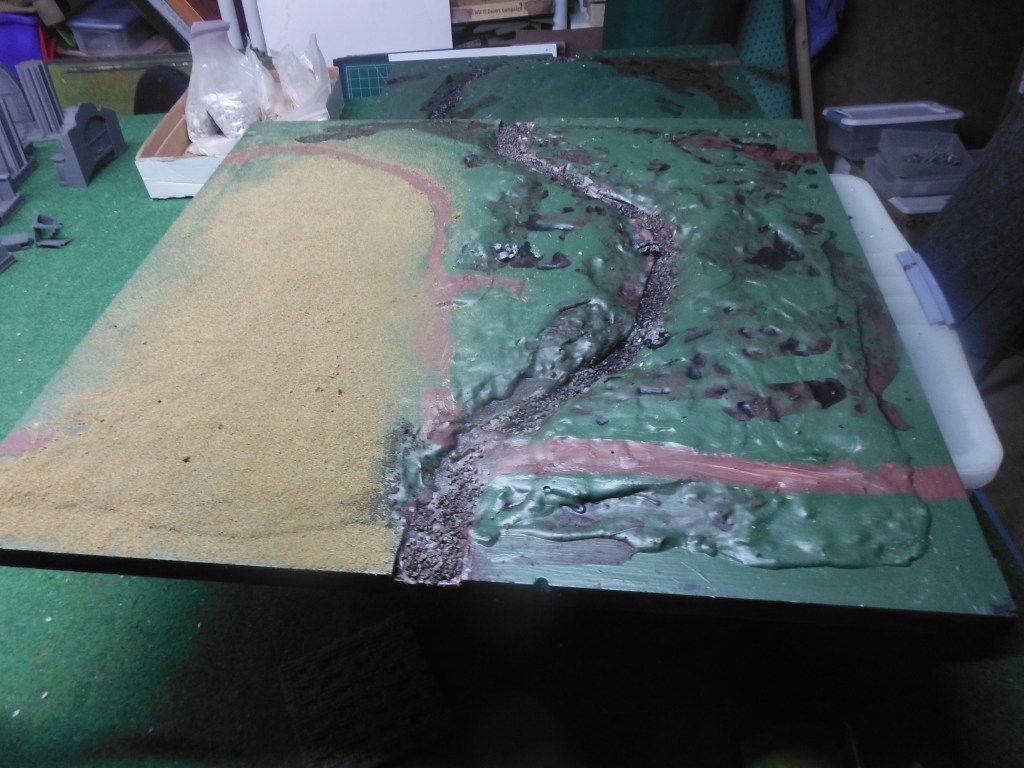
I put these together, as 2×2 foot squares. The rivers link up at the center of the boards and roads at the corners. I put together a 2×2 frame out of high quality 1×2 inch boards. These I then mounted on a MDF backing. Next I glued on cut Styrofoam as the basic forms of the terrain. The covered this all with water putty. The drying for that took about a week. Then I covered it all with a heavy coat of green acrylic paint. The 8 boards I made have been sitting on the rack with casters I build since October. I now have time to tackle each board, one at a time, with all the details except for the actual resin for water.
I will document details as I go.
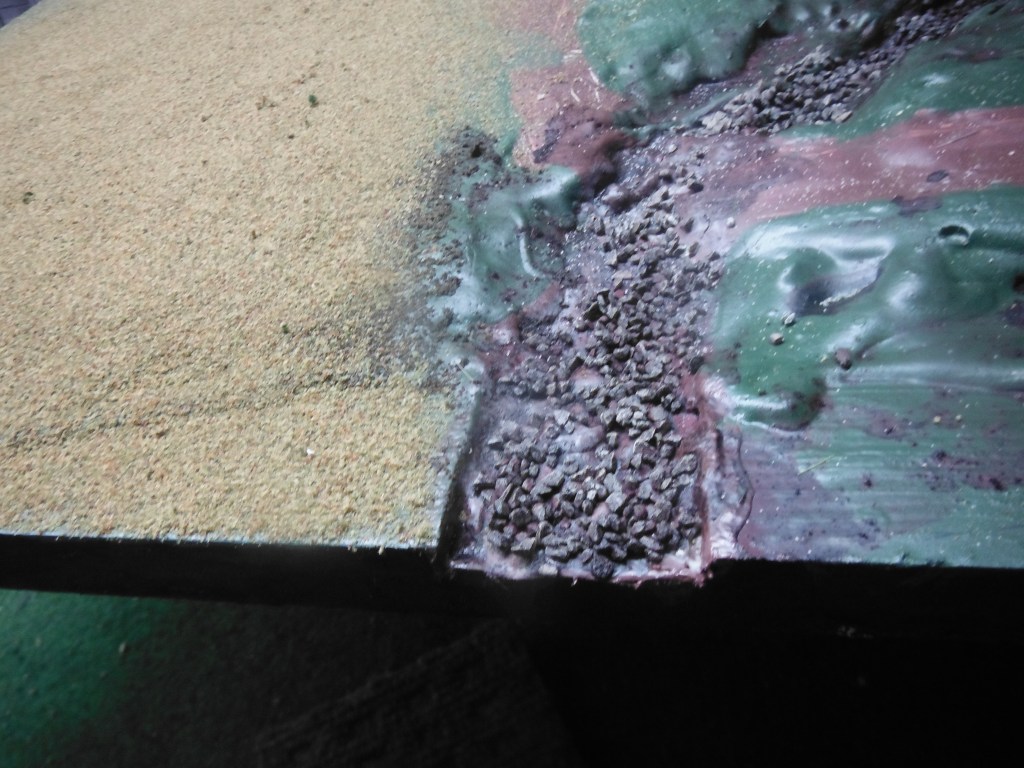
Here are some samples of the boards, so far:
I painted on the roads. For the river beds I used PVA glue to hold small rocks (really cheap aquarium rocks from the large pet store that came in a gallon tub for about 2 Dollars). I added some coarse sand with PVA glue. After drying, I washed the rivers with a heavy brown/green wash, following up with a more brown wast for the rest of the board.
Some of the boards have short, cut off roads and rivers. That allows me to connect boards in various directions.
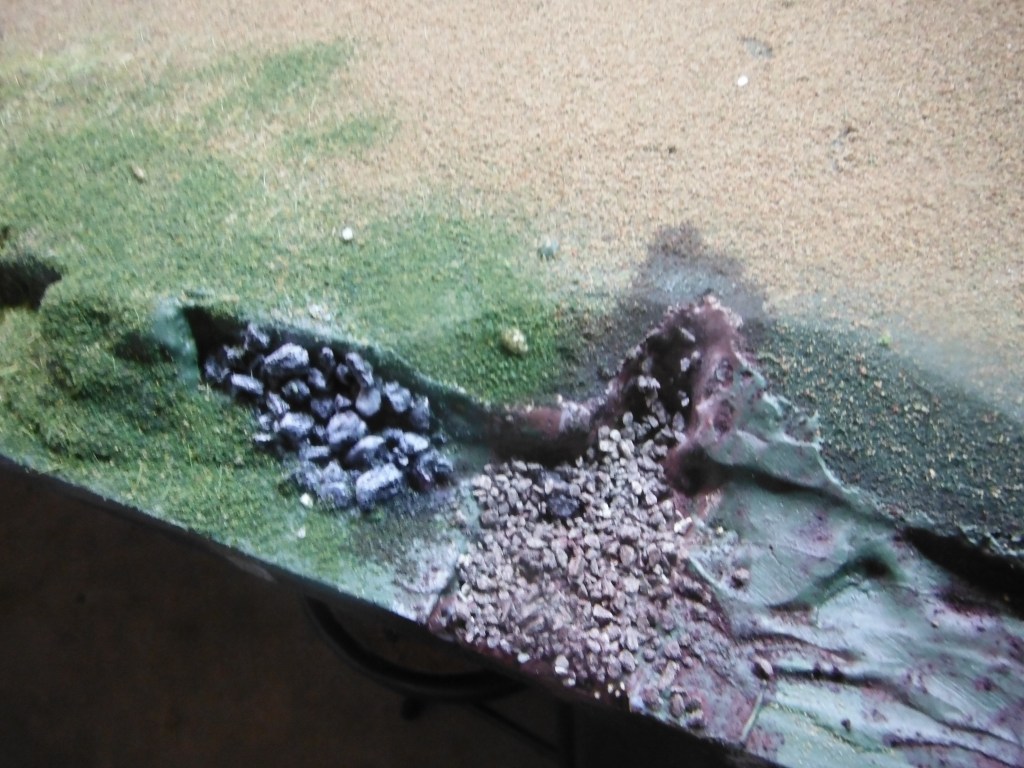
I painted those larger aquarium rocks black and drybrushed these with greys of different sorts.
I got a cheap spray bottle from the local hardware store. I mixed up some PVA with water and heavily coated the board, about a quarter of the board at a time. Then I used as manual flocking gun (I will show one of those later sometime) to evenly cover the area I had sprayed glue on. I let that dry for a few days, then sprayed over the flocking with the PVA mix, soaking it well. This helps keep the flocking secure. Once I am done with that quarter of the board, I go to the next one.
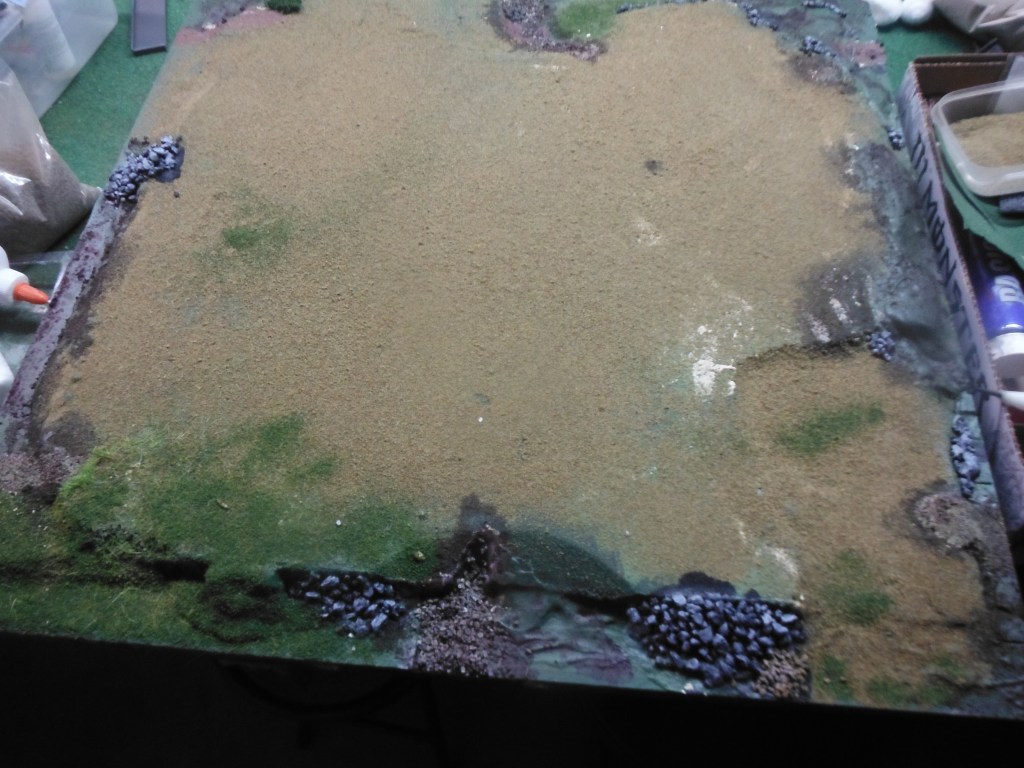
The edges are all the same, uniform height since the 1×2 inch boards are the frame. I did that to secure the edges so they resist damage and slide next to each board better. I use that spray bottle on those boards last to cover the edges, trying to match all the board edges as best I can. I vary the flocking colors a bit. I also add some static grass with a static grass applicator (there are lots of online videos on how to do this) here and there. Once I have completed the resin river water, I will add that sort of static grass to the river banks.
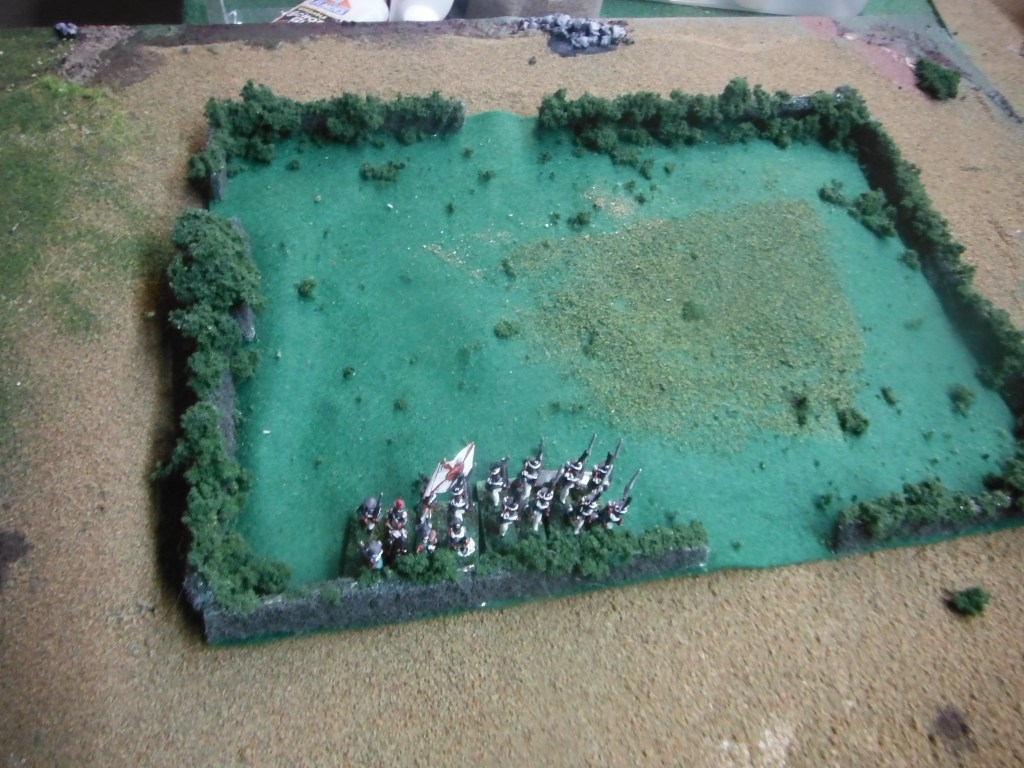
A nearly completed board:
This one is more flat. I tried to vary each board so the effect is a variety. The terrain is not completely authentic looking as it would be with a train layout or formal diorama. The more ‘gaming’ look is necessary for the miniatures games I envision. These boards will be useful for games up to 15mm scale, though I want to mostly use 10mm and microarmor scales on these.
I also made some hedge-lined fields. The 15mm versions use cut felt sheets, some 8×8 inches, and others larger in dimensions. I line the edges with cut scrubbing pads, which are green and come in bundles of 5 or 10 at the discount store. I cut them into strips and glue them down on the felt. Then I garnish these with train layout scenery foliage. The reason I use the felt is it remains flexible and conforms to rolling terrain. It works great.
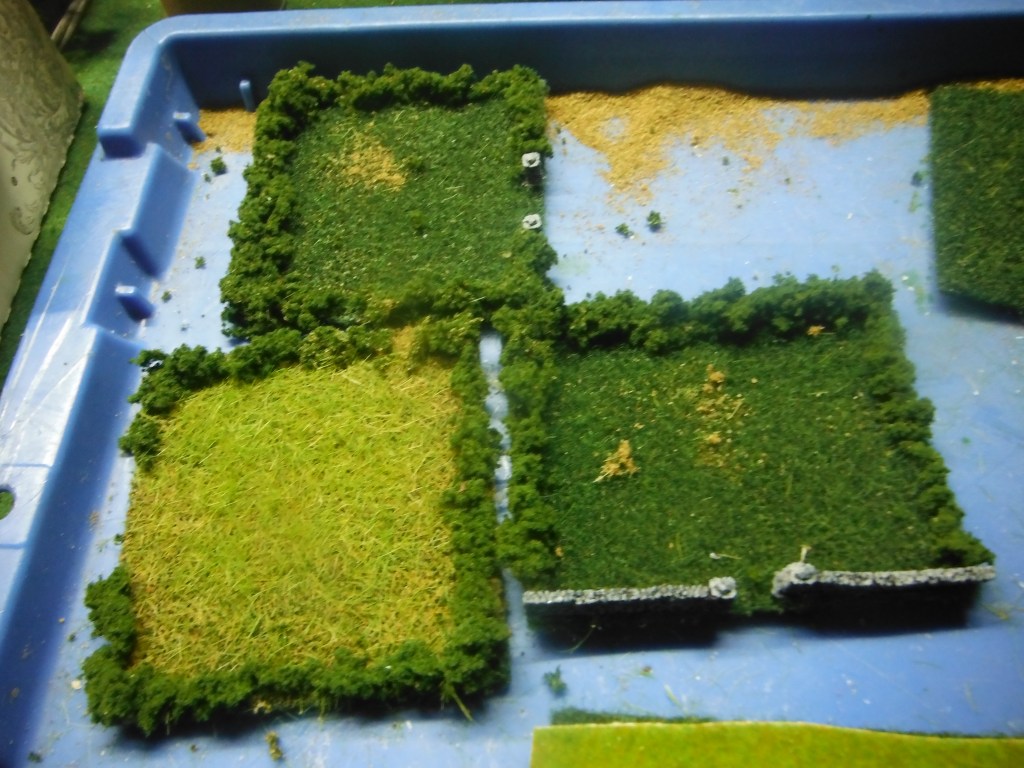
But for microarmor, or 10mm scales, this is too out of scale for the look I am after:
So I went to a big box home building store and got a bunch of free sample squares from the carpet department.
I then garnished these with the same model train foliage and added some tiny wall sections for a gate looking effect.
I now will be working on my modular microarmor/10mm scale terrain boards. I will put several videos together on how I made these, but for now here are a few pics.
I first designed the boards, made wood frames, cut up styrofoam for the base terrain features and then covered it all in Water Putty. More on all the details in the videos, when I get time to make them.
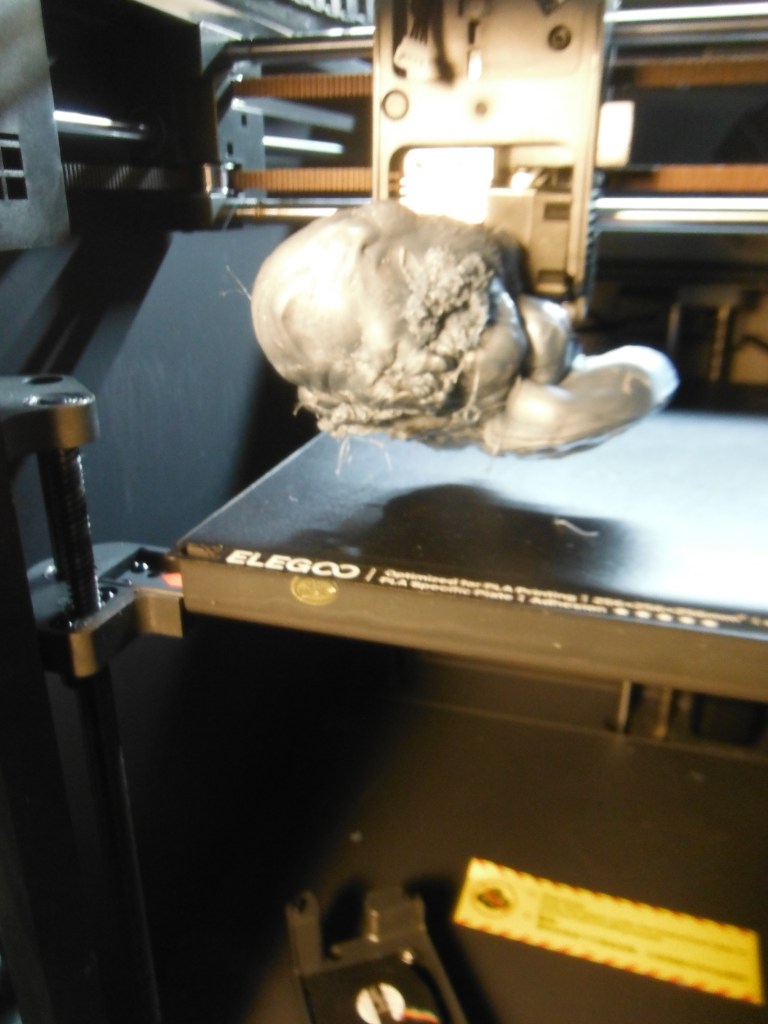
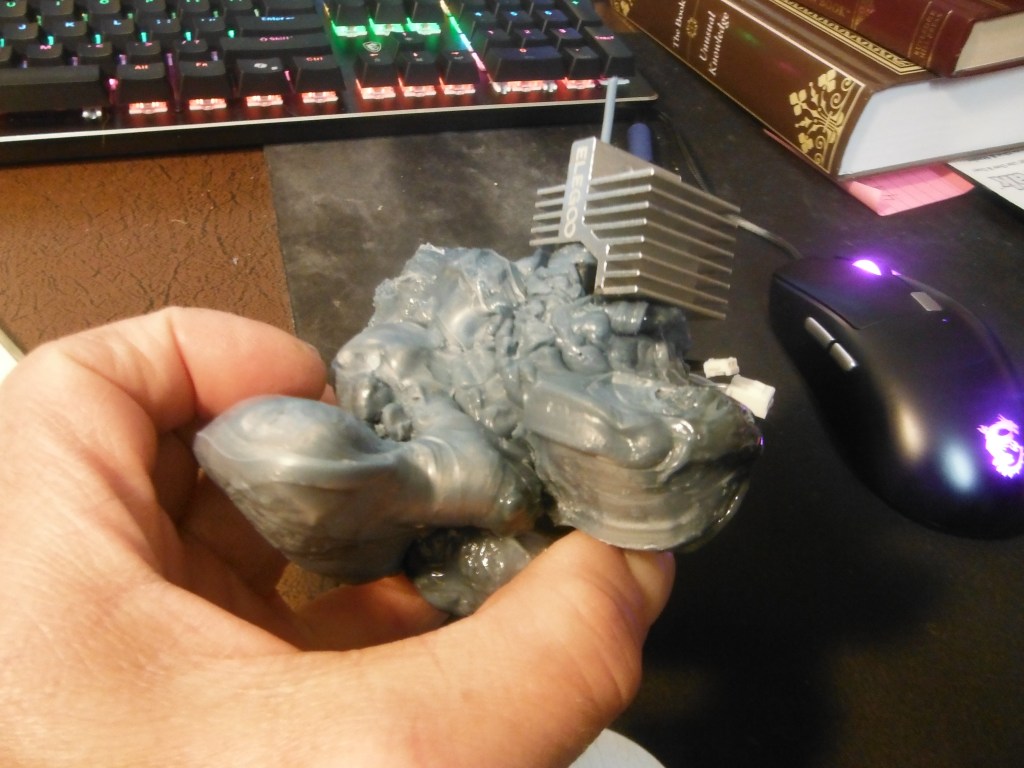
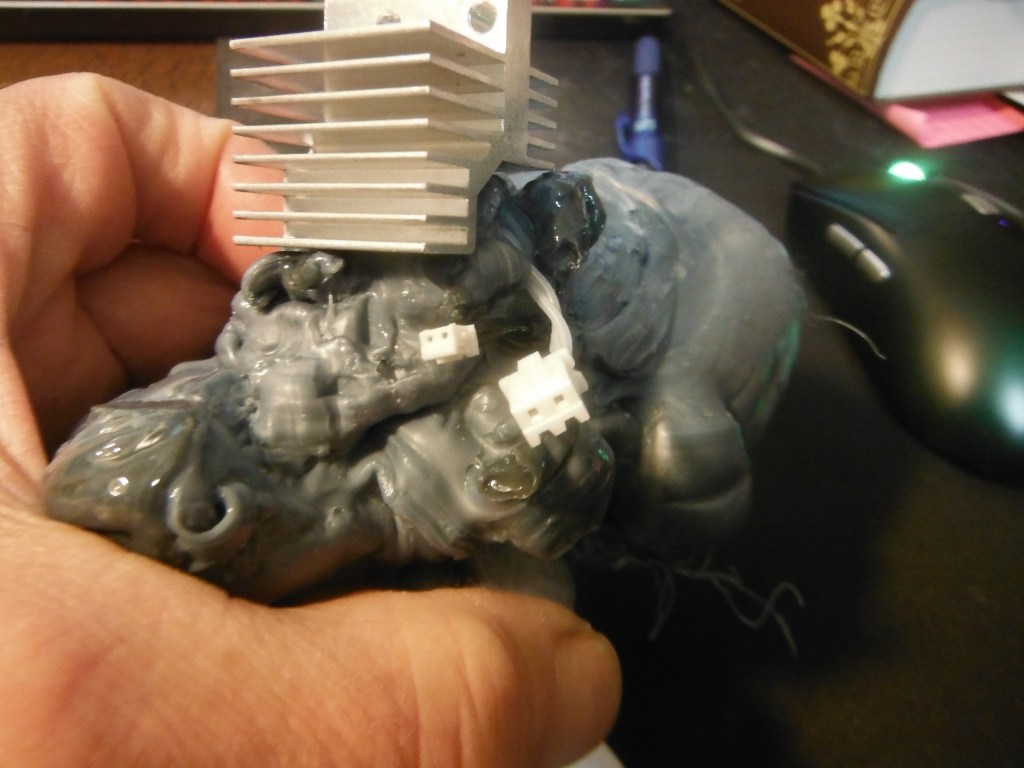
Well…I think I have solved the problem, well sort of. I have dug around and did a lot of research. I THINK I will be able to remove the heater head and extruder, then I will be able to get to that terrible blob. Now to get the time.
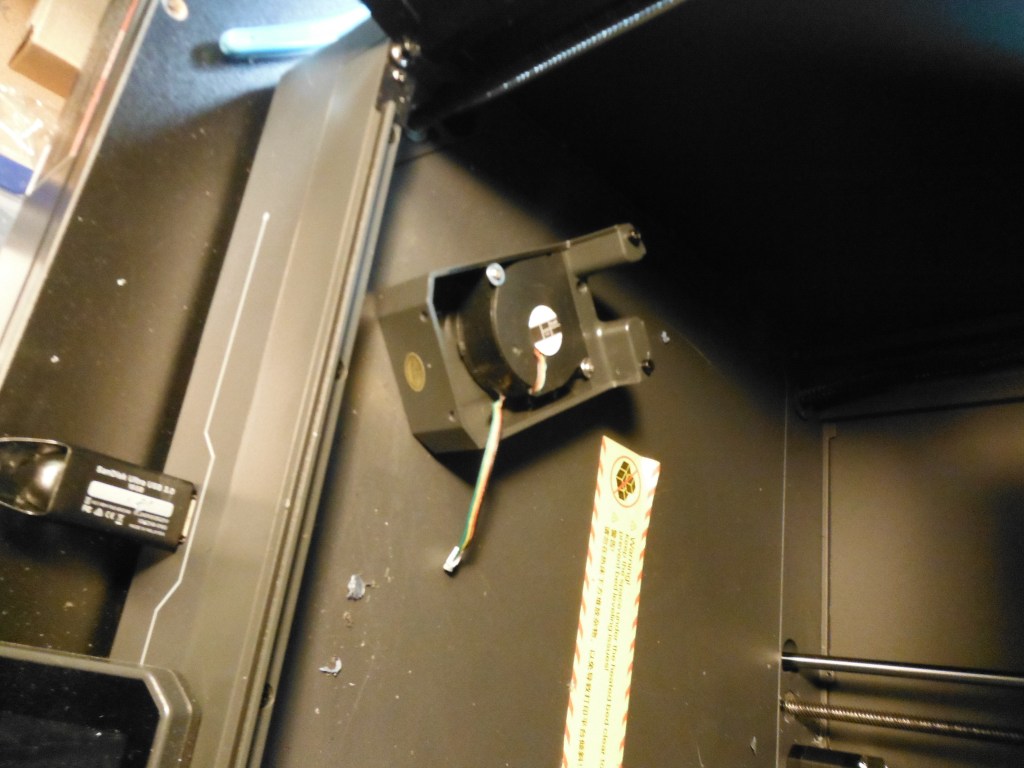
FINALLY got the time, now a month later. I pondered how I could get this blob off and clear the hothead. Well.. after much thought, I just pulled up my allen keys and disassembled the entire Extruder. Luckily the blob did not cover any of the screws nor the small electrical connectors for the themister and heathead nozzle. I unscrewed and gave it some thought on how to get that blob, solid blob, mind you, off. I just gave up. I just ordered a new heater head. It was just 20 bucks…
Yup, that blog is a doozy. The new heater head should be here in two weeks…
I, too, started playing DnD in the 1970s. I also learned to DM, which provides a completely different type of gaming satisfaction with many observations. One, very important, observation is what you mention: younger adults with Autism gain a massive amount of pleasure from playing DnD (or other RPGs, for that matter, such as Traveller). Another observation I can confirm is the social interaction between players leads to personal and social growth. I only occasionally DM DnD sessions, but still cling to the original version (the three-book version or the first edition of the hard bound books). I found that this opens up the mind to the imagination far better than overly detailed volumes of lawyering books. You point out the artwork is all the key, and I agree. The black and white drawings stir more imagination that flashing, and some cases, AI-generated, artwork. All this leads me to a key point you make about Autism and roleplaying games like this. Why does not someone conduct an indepth research into how this sort of gaming helps young adults with Autism? I know it helped me, so there has to be something to this. (I did not get confirmation that my comments went through, so I thought I would post them here, as well)
I had an interesting discussion with some fellow wargamers the other day. We reviewed what we knew of Japanese field fortifications, dugouts, and bunkers. It turns out we did not have a lot of good information. This prompted me to dig a bit and I found these interesting studies the US Army produced.
These are public domain documents. I would really like to hear from others on what they think about these. I particularly liked the overview of field fortifications. This will help building terrain for a tabletop.
I posted the second part of how I paint 25mm Vikings really quickly:
This is one more in the series of miniatures and miniatures-related videos I am putting together. I am eager to share my many years with the hobby in the hopes that someone out there can gather a few tips to make their own part of the hobby better and more enjoyable.
I posted my first official video on line. What do you think?
What I intend to do is offer actual painting sessions for people to look over and hopefully get ideas on how to they may increase their painting volume.
I have decided to start putting together a large library of “how to paint” and other work that goes along with miniatures wargaming. The first one is here: https://youtu.be/NGvz3YeNWWc
I would love to get feedback. I am working through the complex video editing software, where the learning curve is very steep.